Beadboard can enhance almost any area of a home, particularly a kitchen or bathroom. It can take the place of tile, as beadboard is less expensive, and is easier to install. So, if you are a newcomer to beadboard and want to save on the cost, time and labor of tile and are thinking about using it as a backsplash, here is an overview of beadboard as well as some guidelines to follow in its use.
Beadboard Defined
Beadboard is comparable to paneling and it is made from narrow wood planks that are usually placed in a vertical fashion on a wall area. Between the wood planks, there is a narrow ridge or indentation that is called a bead.
Beadboard has been used in cabinetry, but it is more likely to be seen in bathrooms and other spaces along the lower area of a wall. It is adaptable and a good alternative to tile, and can be cut to almost any length. It is durable as well as visually attractive and though it is usually white, it can be painted in almost any color to coordinate with varying home designs whether traditional, rustic or modern in style.
Much of beadboard today is made in large sheets and has the same appearance as the more traditional vertical wooden planks or panels, which makes cutting and installation in spaces far more efficient. The sheets can also be made of other less expensive materials, such as medium-density fiberboard (MDF), vinyl and other durable products that mimic wood beadboard.
Beadboard Preparation Process
Before attaching the beadboard to a wall or backsplash, the wall area should be prepared for placement. That means removing with a pry bar any already existing molding or any other material that is present and creating a protrusion. Window trim should be removed as well. Also, beadboard can be placed over existing drywall or plaster as long as either one has been initially and securely attached and readied for beadboard placement.
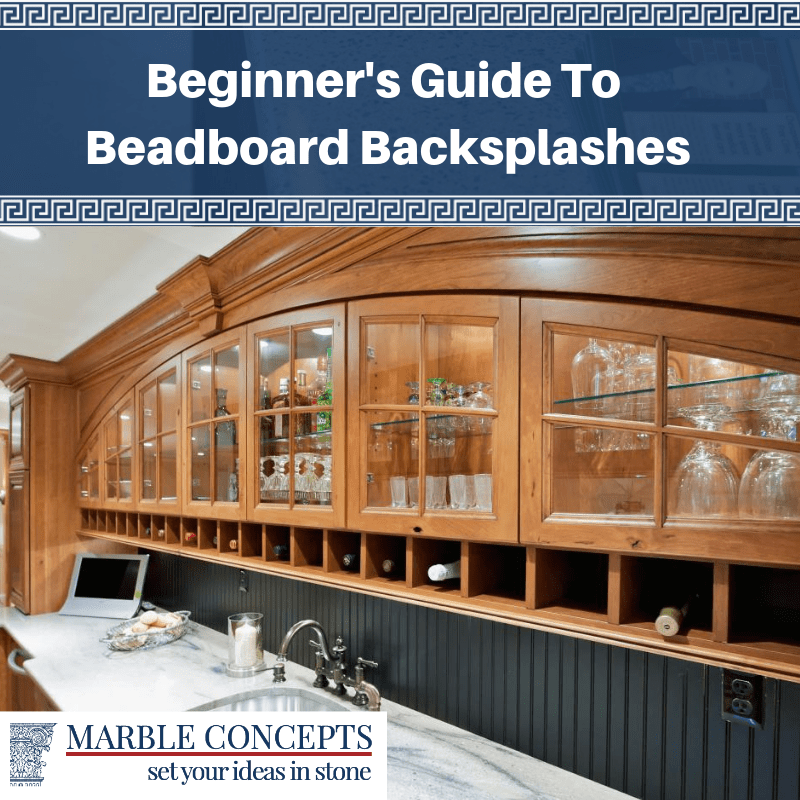
Make sure any electrical outlets that are affected by beadboard placement are turned off from their main circuit control box. Remove any switches and outlet plug-ins from their outlet boxes. Cover the areas from dust and debris accumulation.
Measuring, Marking and Cutting Process
Wherever the beadboard is going to be placed, whether for a backsplash or other wall area, use a stud sensor/finder to mark the framework within the area to attach the beadboard in the right places. It should be installed from a left side corner and placed across a backsplash or wall area to the right.
If the installation is going to occur over an already existing wall, trim a piece of the edge on the left of the beginning beadboard panel to take up for the density of the drywall or other material. Don’t make a cut on the right edge of the board as a beadboard panel has lap joints on its side edges, and a right edge will be required to hide the seam.
Measure and cut the beadboard panels or sheets with a saw to the necessary height and width. The pieces should be marked at the point where the top of the beadboard is going to be placed.
Also, mark any openings for electrical boxes/outlets or other areas. Make a template for the electrical boxes and other openings and transfer the measurements to the beadboard panel. Use a drill bit to make holes in the corners, and make final cuts for the box openings with a jigsaw.
Installation Process
The installation process with beadboard consists of using a large beadboard sheet or individual beadboard panels and attaching them to a wall or backsplash area with a construction adhesive type of glue, finishing nails and the help of an air nailer.
Adhesive can also be used to attach the panels to a smooth surface wall. Place the adhesive on the back of the panels or sheet sections. Use the adhesive and place it close to 1-inch from the panel or sheet edges. Press down firmly on the panel or sheet to place it on the backsplash or wall. Add the finish nails in 12-inch sections to hold the panel or sheet in place, and allow the glue to dry.
Once dried, replace any floor, window or wall moldings over the beadboard and also replace any electrical fixtures in their openings/outlet boxes.
Whether you are interested in a backsplash for your kitchen or bathroom or would prefer one for another area of your home, and you want to know more about the available materials and the installation process, complete the contact form and an expert will get back to you with the information you need to make an informed decision about the possibilities with beadboard.


